It’s no secret, I hate shaving my legs! I switched to a metal safety razor about two years ago to avoid using all the plastic disposable options but it still required more effort than I was willing to put in. And then I discovered sugar waxing.
This is the ultimate zero-waste, long-lasting way to remove hair and it is super easy. Making your own sugar wax takes about 10 minutes and you can store it and use it later. It only uses ingredients most people will have already and it lasts for about 4-5 weeks between waxes.
Not sold yet? The pain factor can put some people off but, if done correctly, the pain is minimal. It’s also almost free! The cost of ingredients is about 20c per batch so no need to fork out for waxing services or those expensive disposable razor heads.

Tips for making your own sugar wax
Don’t stop stirring your mixture. Even if it feels like nothing is happening, the slightest overcooking can mean you burn the sugar and the whole mixture needs to be thrown out. Just keep stirring and watching.
Making a small amount is easier to deal with. The recipe below is the perfect amount for me to do both legs without any leftover. You can easily make a bigger batch and keep it but it’s harder to do the stretching with lots of wax.
Apply corn starch or baby powder to your skin before waxing. This will soak up any moisture from your skin and allow the wax to stick more easily.
Smooth the wax on against the direction of your hair growth, this allows it to properly stick to the hairs. But when you pull it off use a flicking motion in the same direction as the hair growth. This ensures the hairs are pulled out smoothly and prevents ingrown hairs.
Exfoliate between waxing sessions in order to avoid ingrown hairs and to keep the area smooth.
How to make sugar wax at home
Ingredients
1/2 cup sugar (white sugar is easiest but other sugars work too)
2T lemon juice
2T water
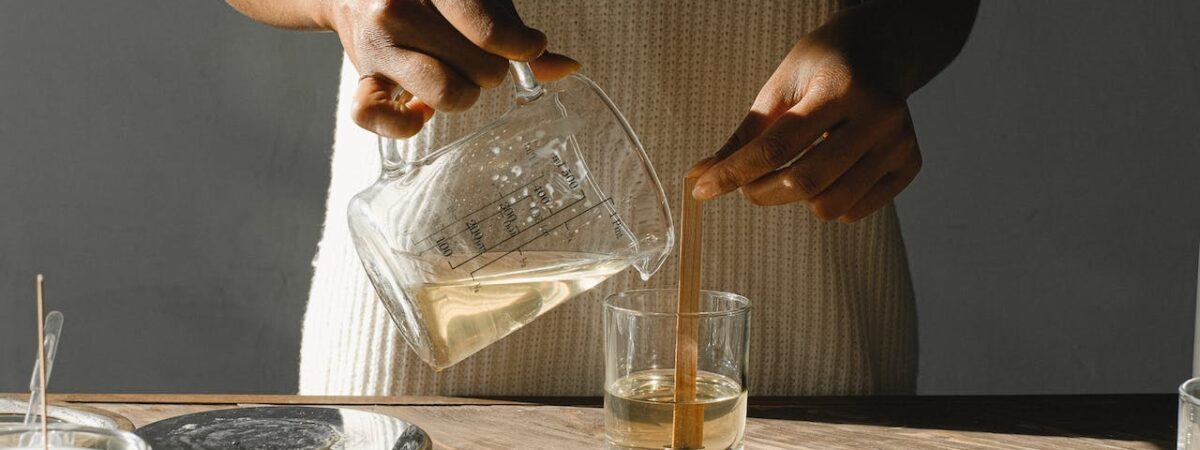
Mix everything together and stir over a medium-high heat. Stir continuously using a spoon or whisk. The mixture should start to bubble and slowly change colour.
As soon as the mixture starts to turn golden take it off the heat! This is really important because if you leave it too long it will burn the sugar. There is a really fine line between the perfect sugar wax and burnt useless sugar.
Slowly stir the mixture as it cools and thickens. It should be a deep golden colour. When it starts to get sticky, wet your hands and scoop the wax up. It will be hot so you’ll need to transfer it between your hands as it cools.
As it cools down begin to stretch the wax and fold it together. Do this repeatedly until the wax goes from clear to opaque. This is called kneading the wax and makes it easier to use.
Once the wax is ready to use smooth it onto your skin against the direction your hair grows. If it doesn’t stick your skin may be too moist, try brushing cornstarch or baby powder on before applying the wax. Smooth the wax down two or three times before ripping off with a flick of your wrist in the direction of your hair growth.
The same piece of wax can be used multiple times until it goes a beige colour and starts to get too sticky to use. Throw it in the compost when you’re done!

